Just spent another weekend with hubby at the family cabin.
I love going there and getting away from the routine at home. Somehow, it is easier to tackle certain sewing projects, reports, bookkeeping, or read, without the distractions of Television and Internet (especially Facebook!) I usually take too many things to do, but I did get a few things accomplished or started.
First of all, I am still working on my
Grandmother's Flower Garden (see a few posts back). I only seem to work on that at guild meeting, or at the cabin. I managed to sew a few more hexagons together.
I read a really great book,
Art Quilt Workbook, by Jane Davila & Erin Waterston. Good chapters on the fundamentals of an art quilt, and the different techniques to try. Lots of inspiration, and ideas to explore with my guilds Art Group.
I also read another little book,
Marbling Fabrics for Quilts, by Kathy Fawcett and Carol Shoaf. Our Art Quilt Group is getting together this week to do marbling with shaving foam, so this book showed me the basics of marbling and I feel better prepared to play this week!
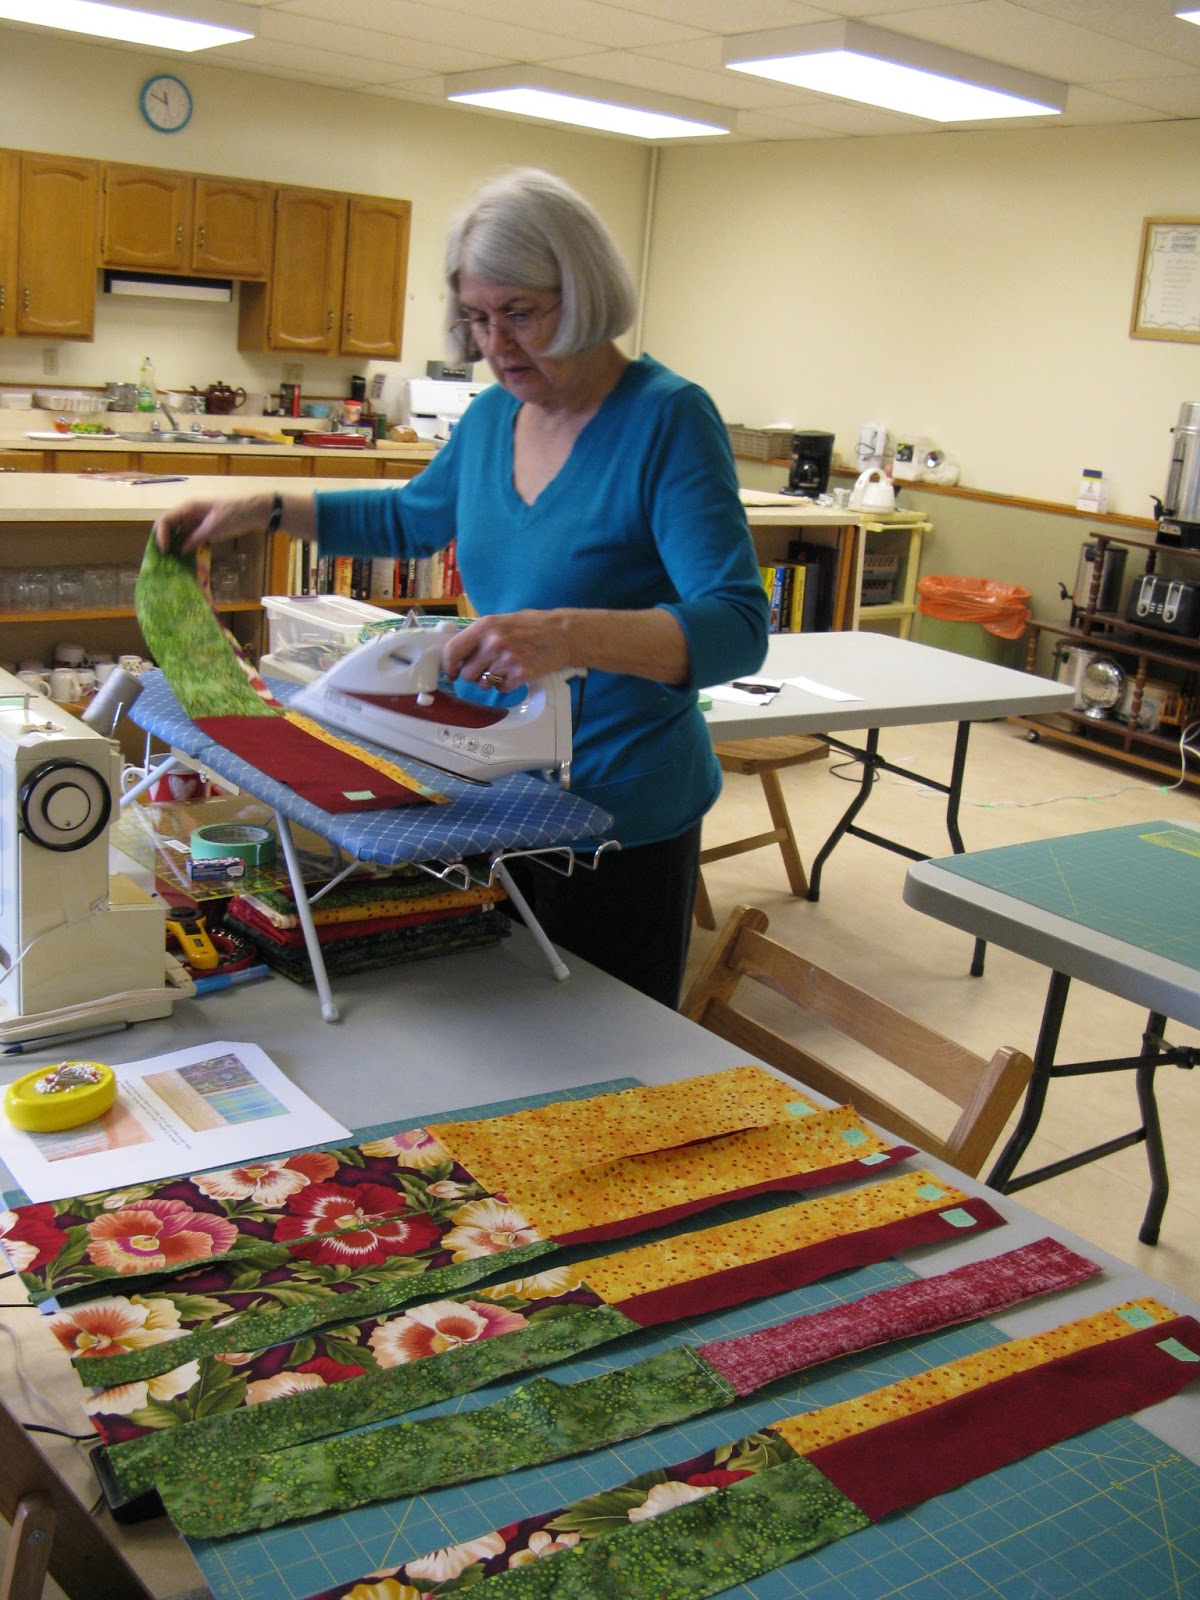
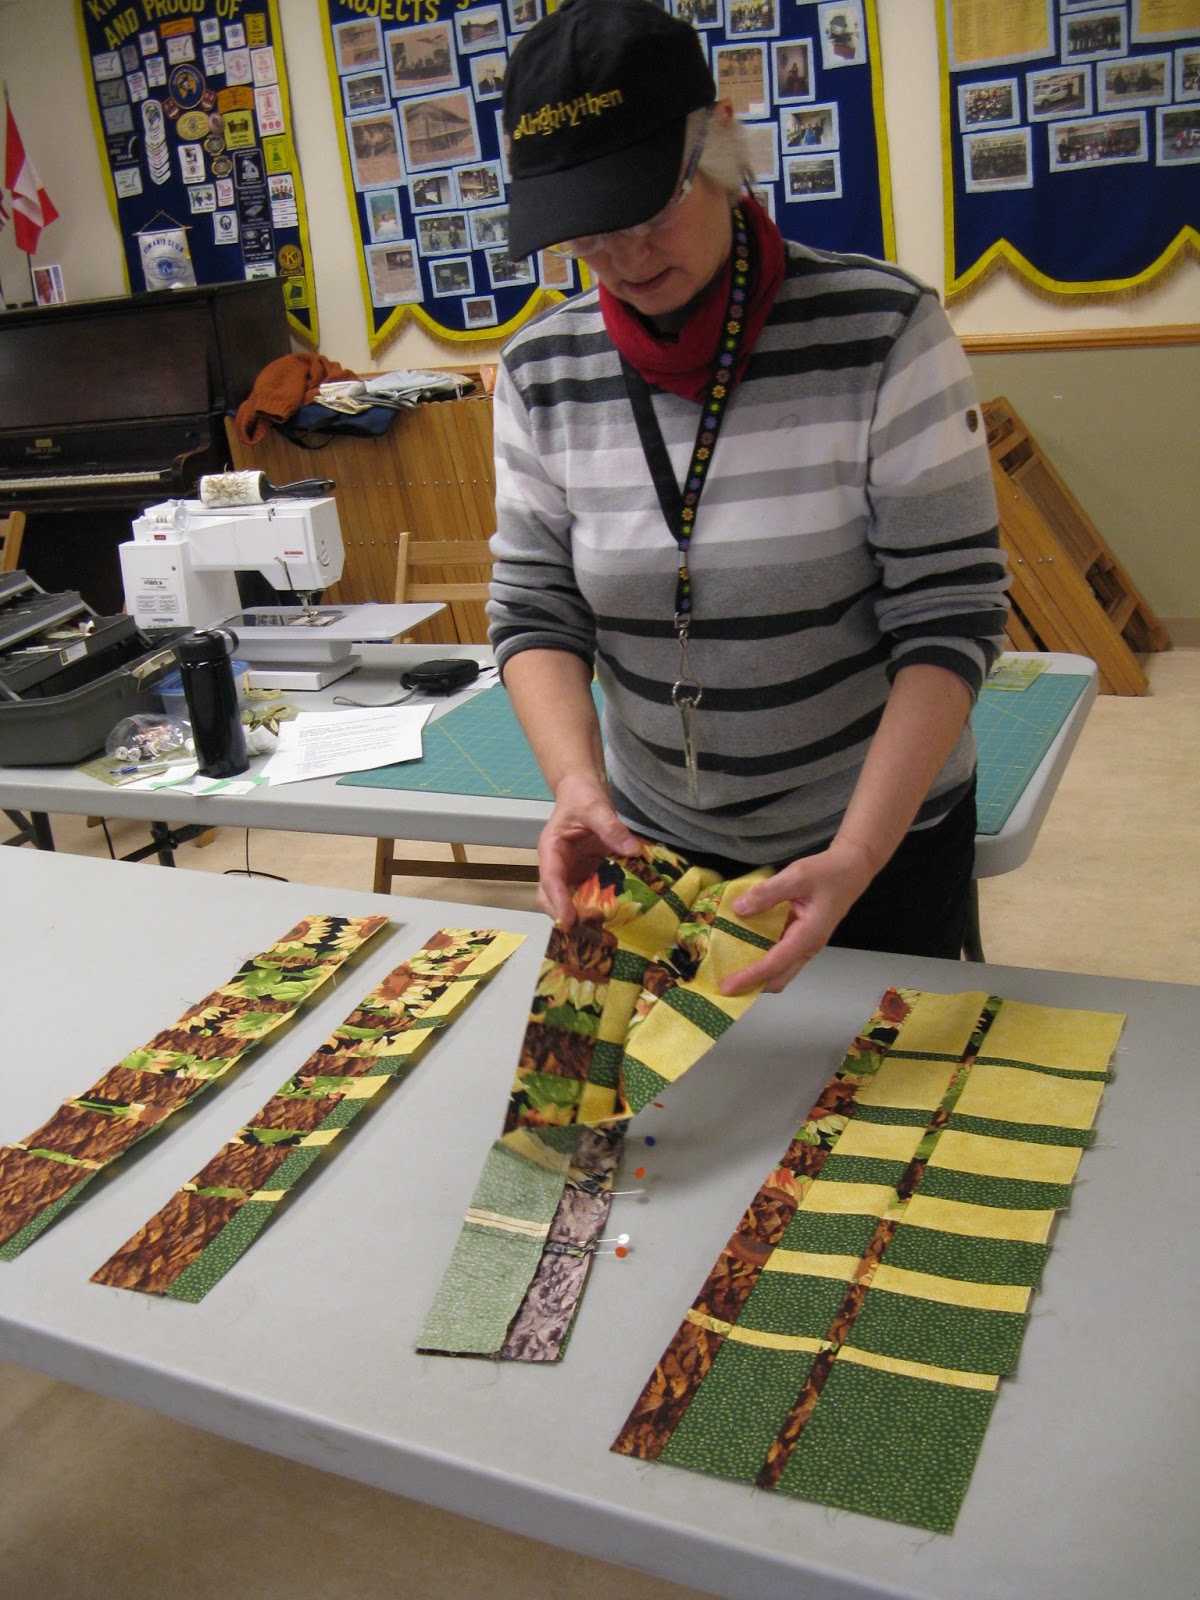
I am going to be showing my Monday night quilt group how to make a quilt-as-you-go reversible quilt soon, so I had to make one myself and prepare a lesson plan as well. I think it is a good technique to learn, especially for someone who can't quilt a big quilt on their domestic machine. And it is a great way to use up scraps. I just brought a bundle of fabrics I had together from a previous project, so it took some time deciding which fabrics to use for what. I had to walk away after awhile, because I was coming up with roadblocks, as I had only brought cream-coloured thread with me, and it was not going to work with the fabrics I wanted to use! Finally, I figured out how I could make it work, so off I went! I followed the technique used in the book called
Reversible Quilts, by Sharon Pederson.
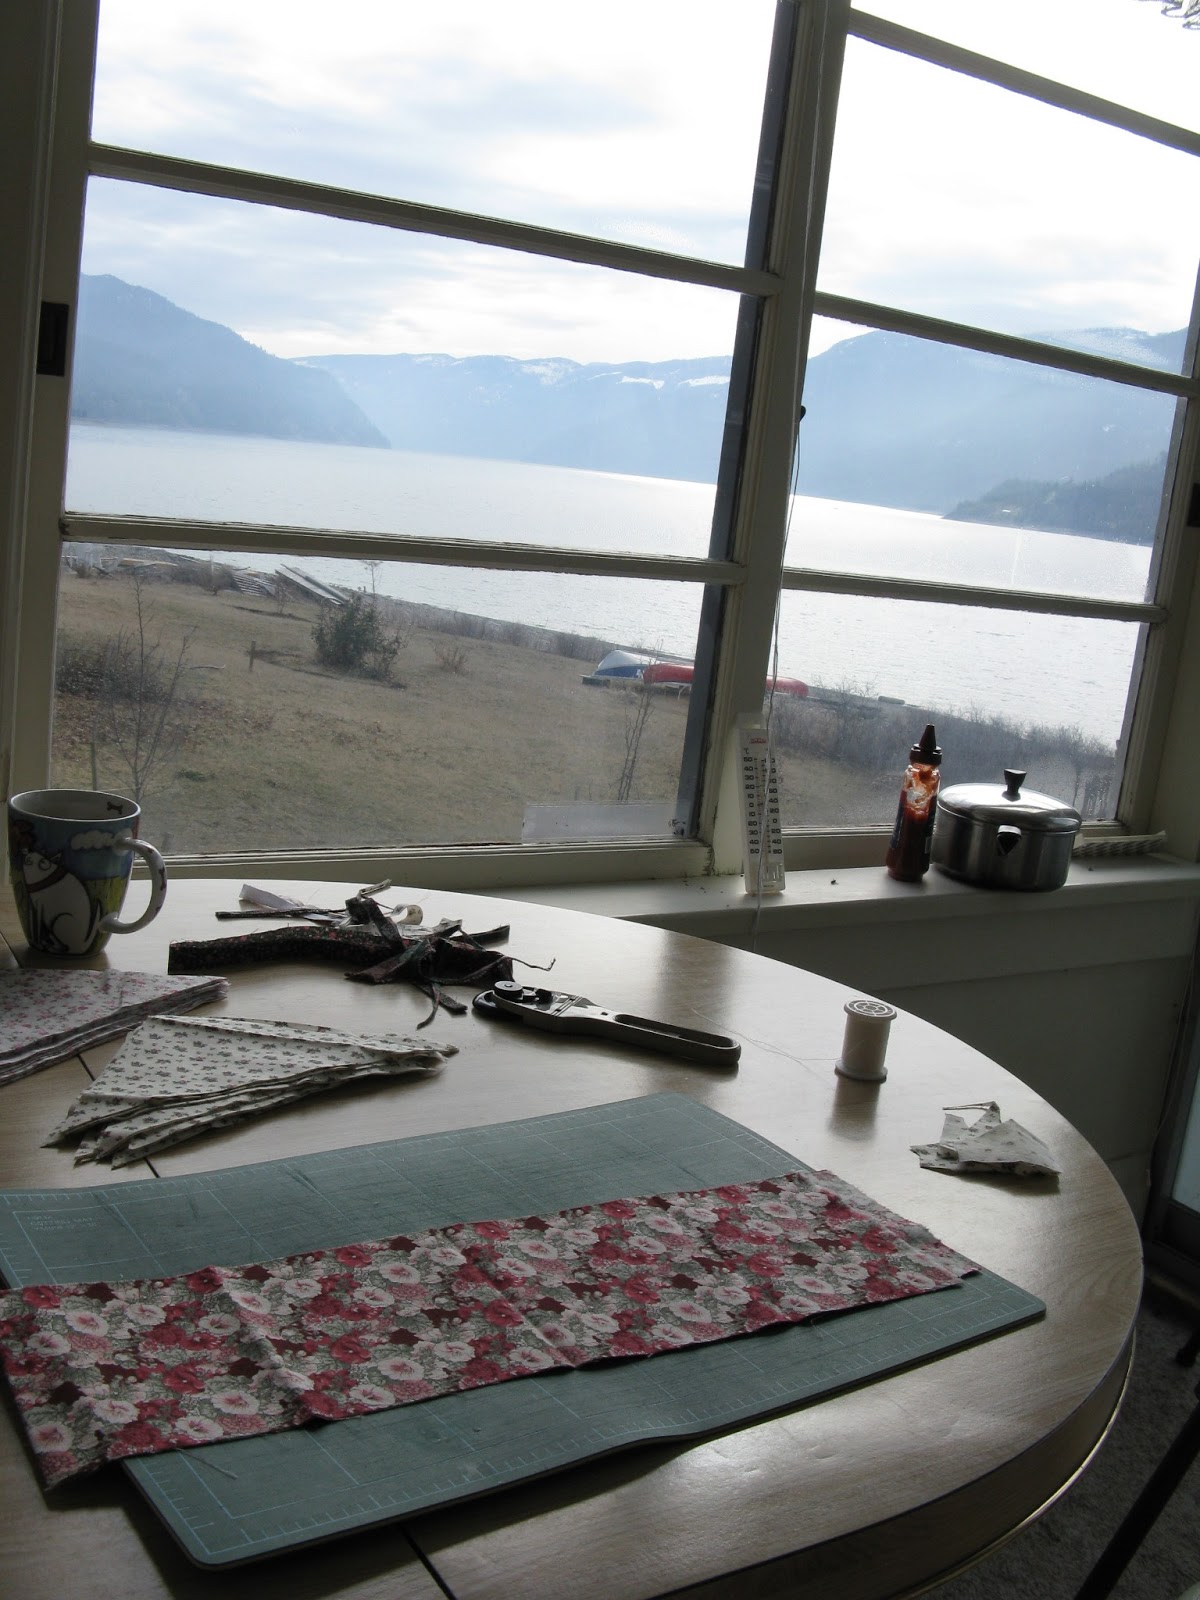 |
| Inspirational view! |
 |
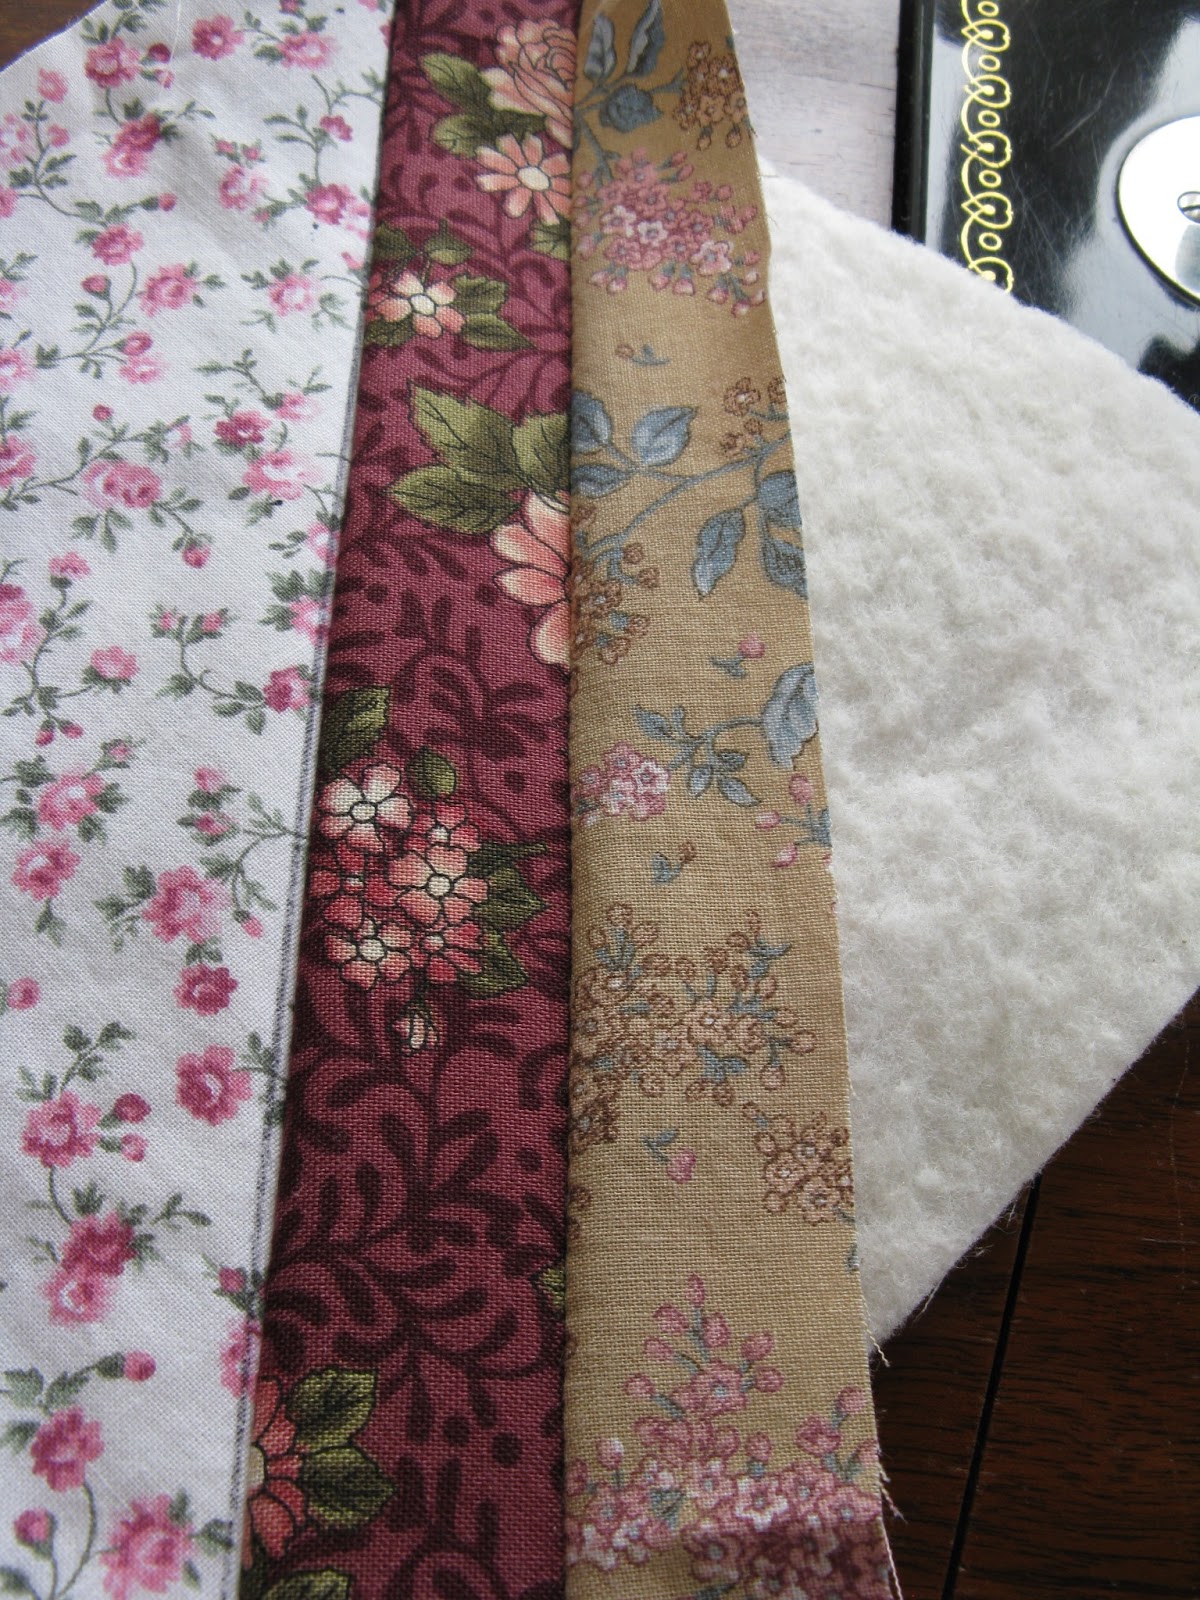
| Thread works with these fabrics |
 |
| view from the sewing machine |
 |
| fabric strips |
 |
| Fabric A |
 |
| 1st strip in place, pin |
 |
| flip over to Side B |
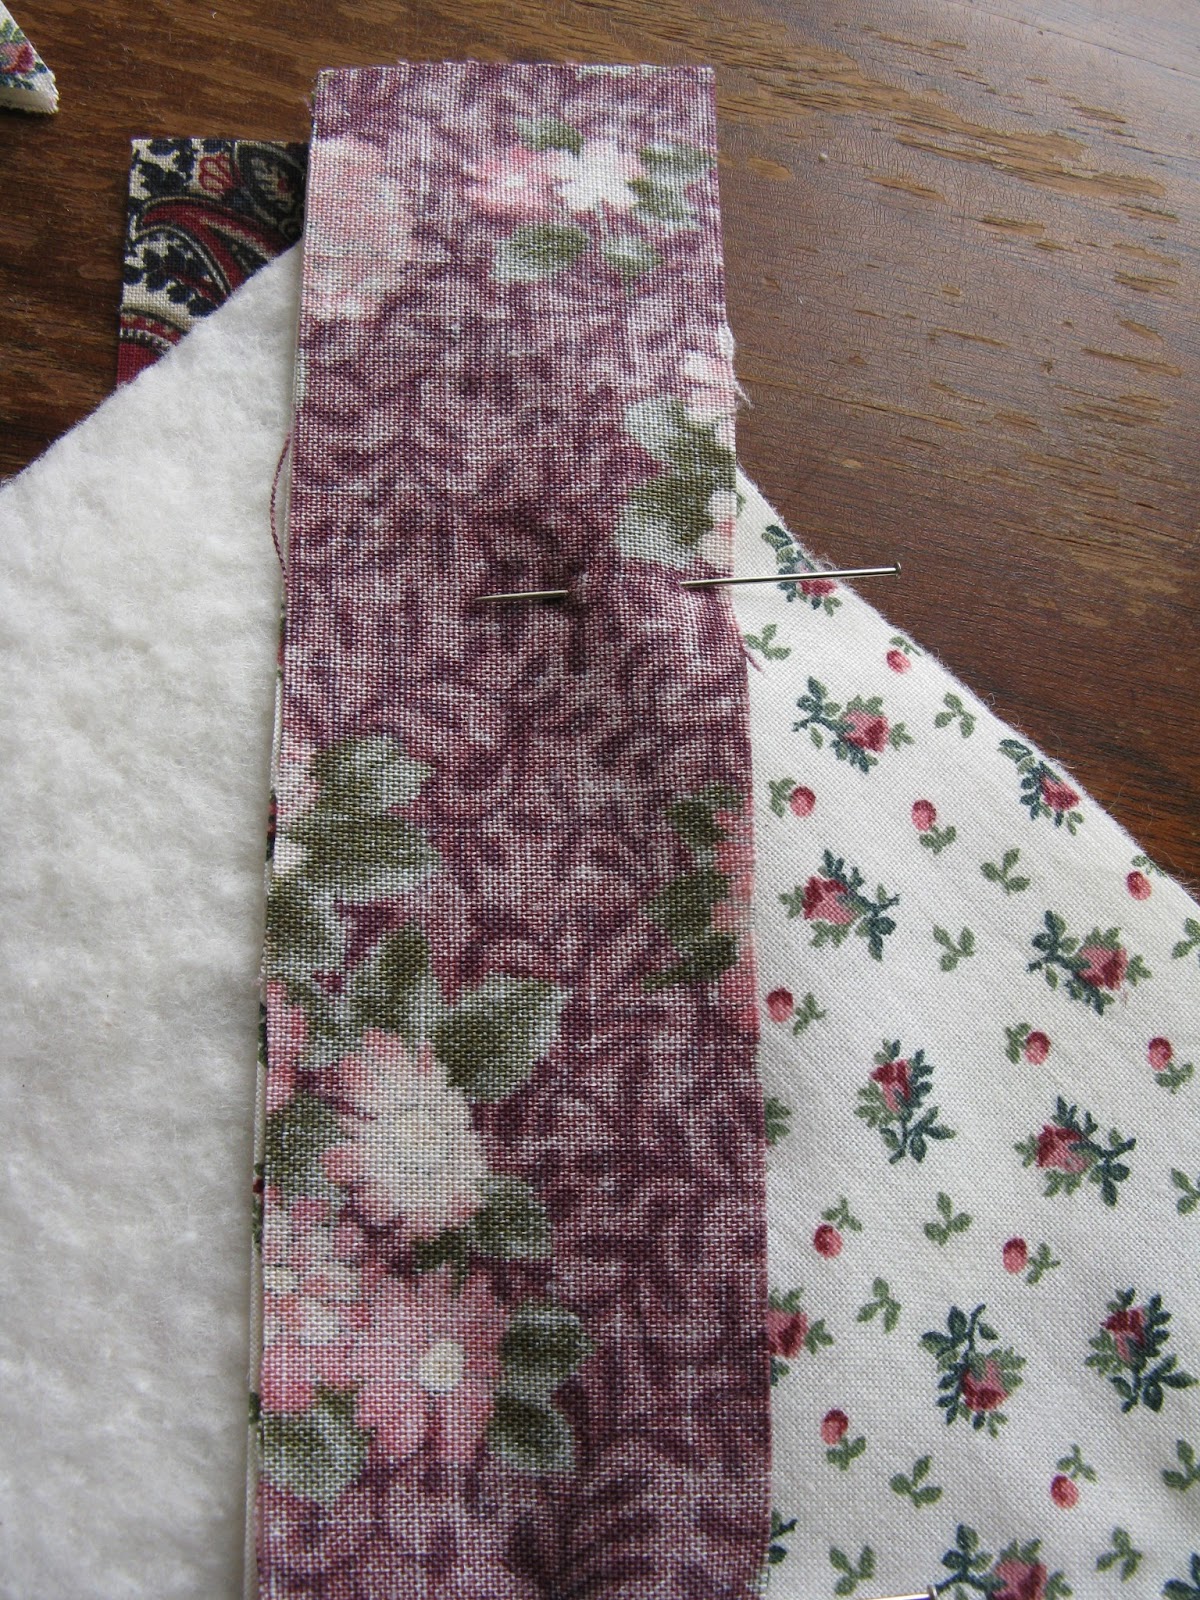 |
| Pin 1st strip side B in place, so it doesn't interfere with seam |
 |
| flip back to side A and sew seam |
 |
| Open both seams, Sides A & B, finger press, pin side B open |
 |
| working on side A, continue to sew and flip strips across |
 |
| When side A is complete, finish side B in same way. Trim |
 |
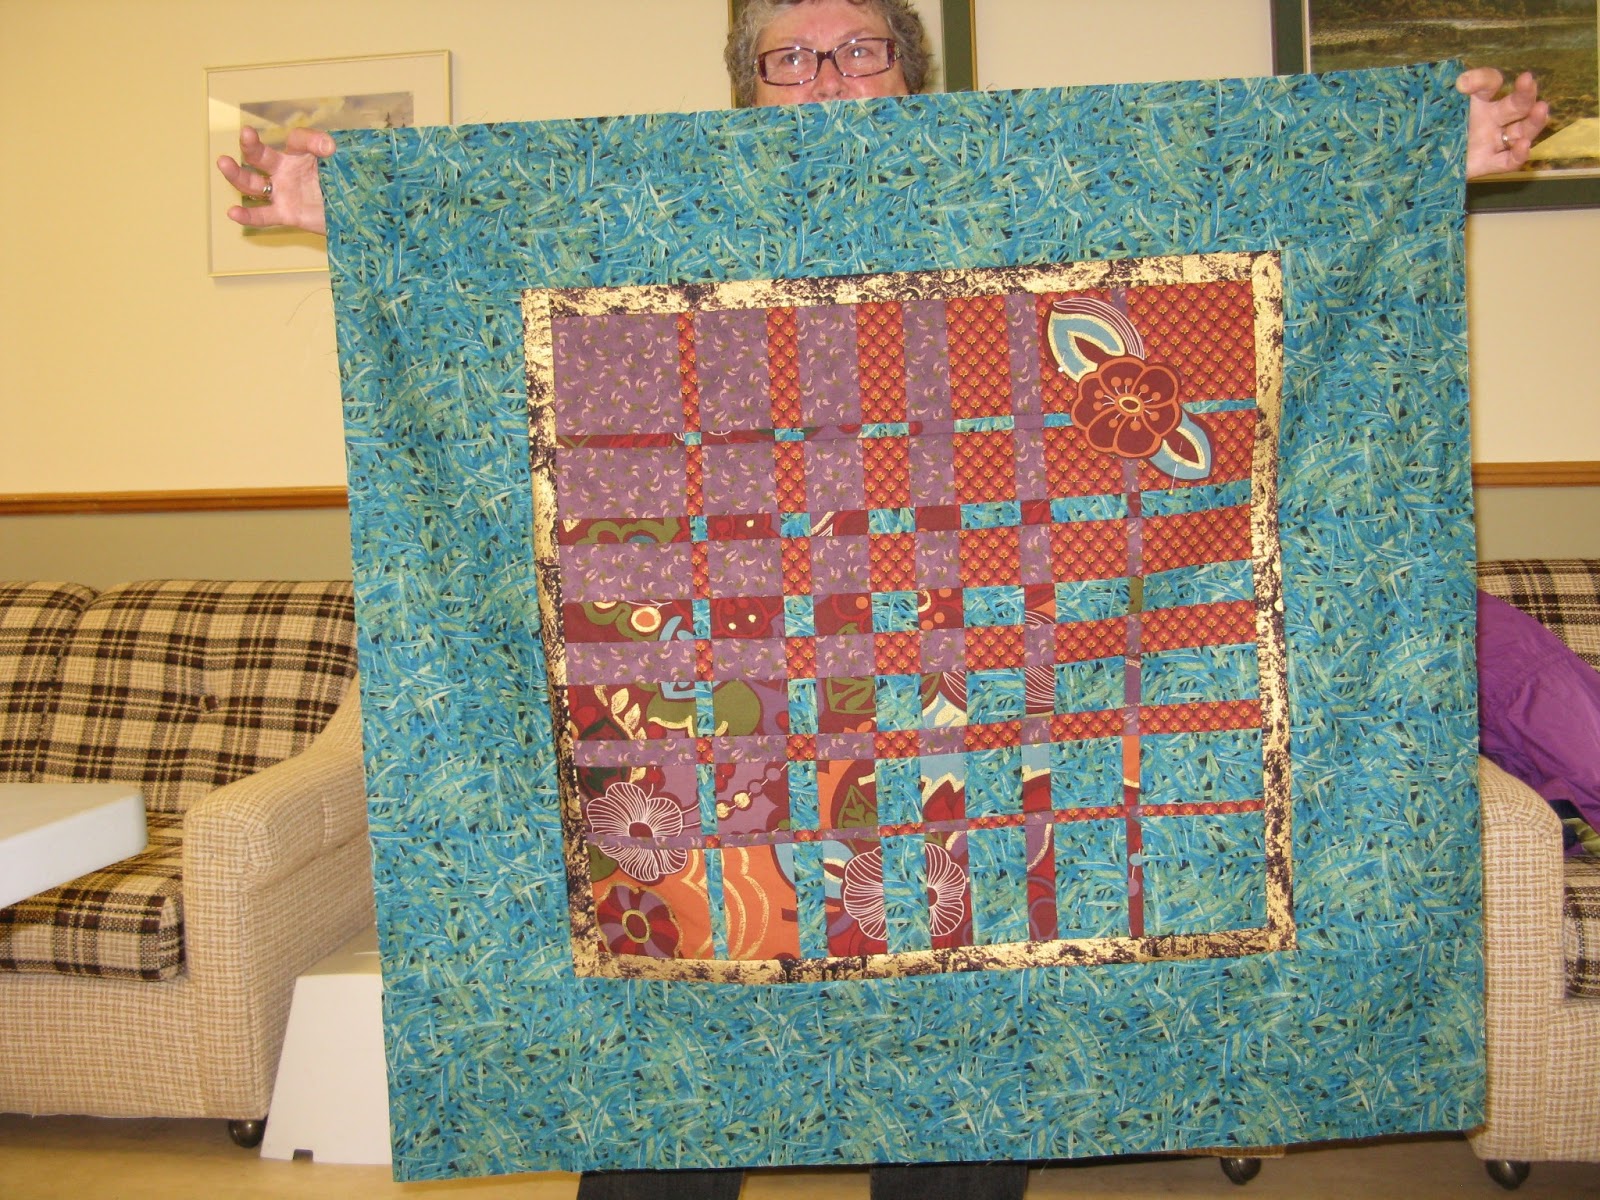
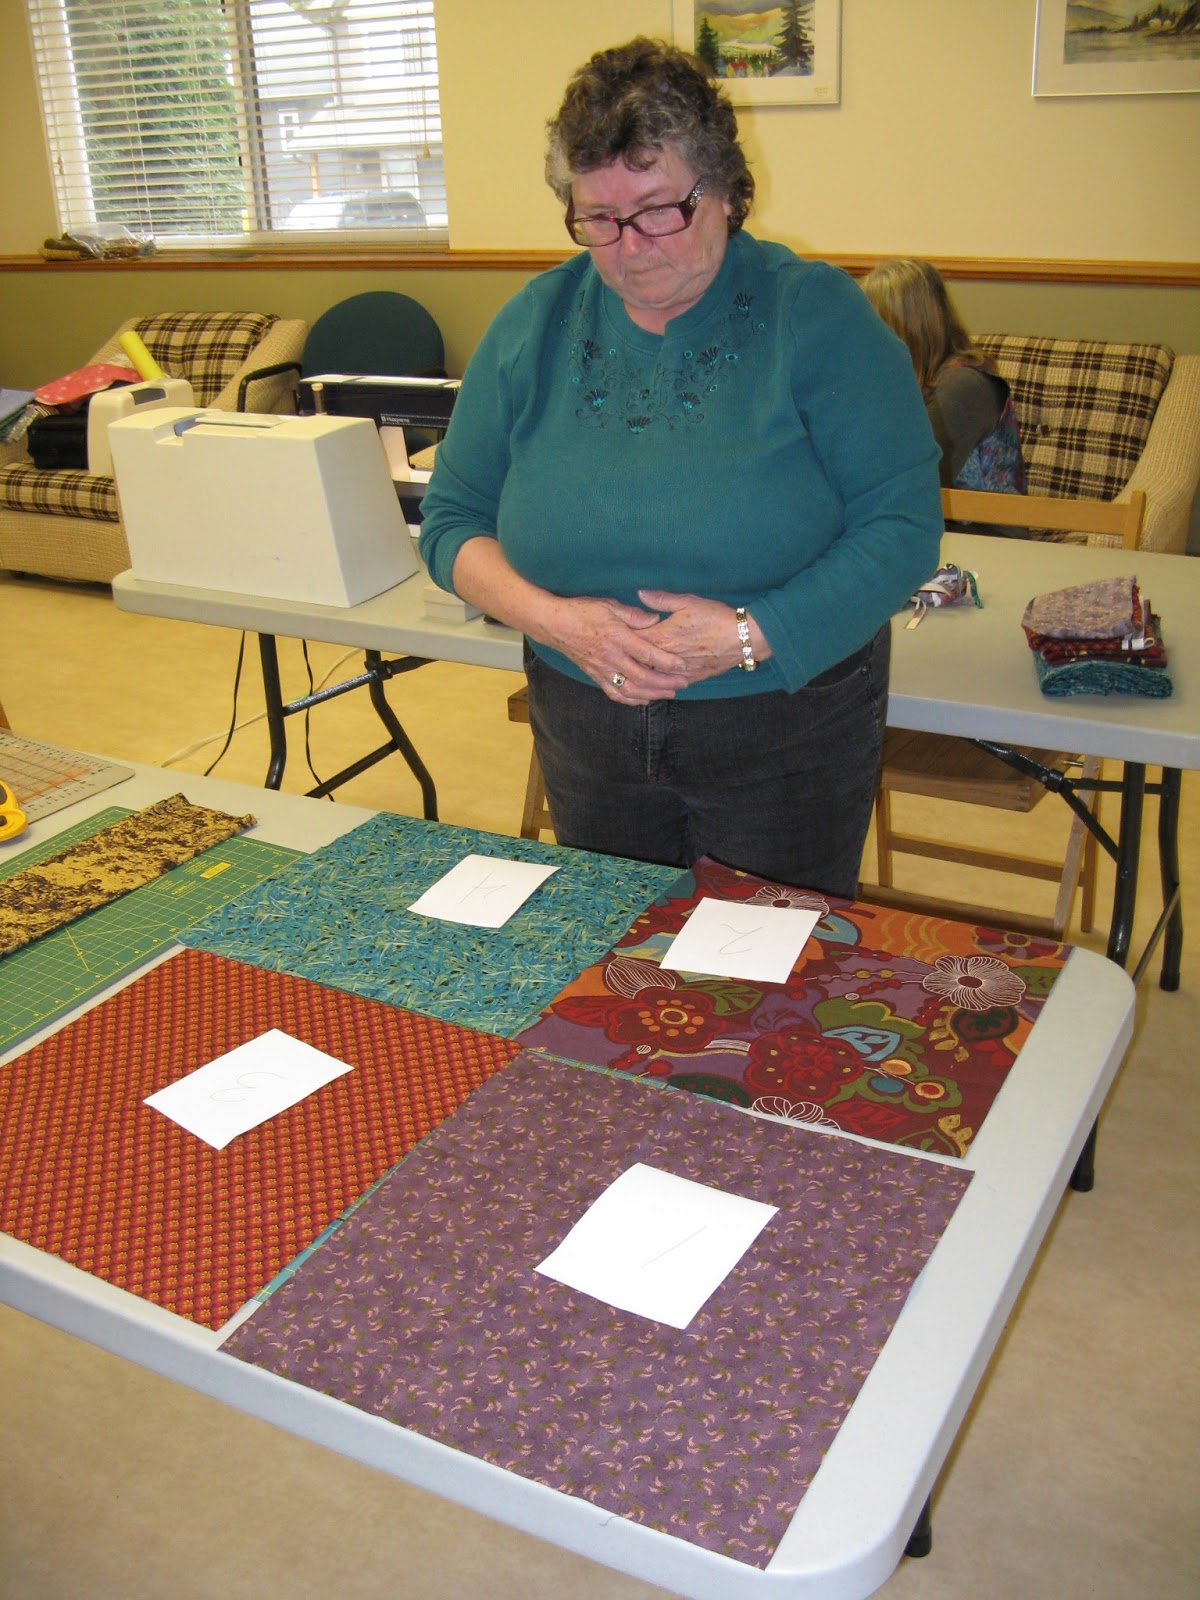
| Layout #1 |
 |
| Layout 1, reverse |
 |
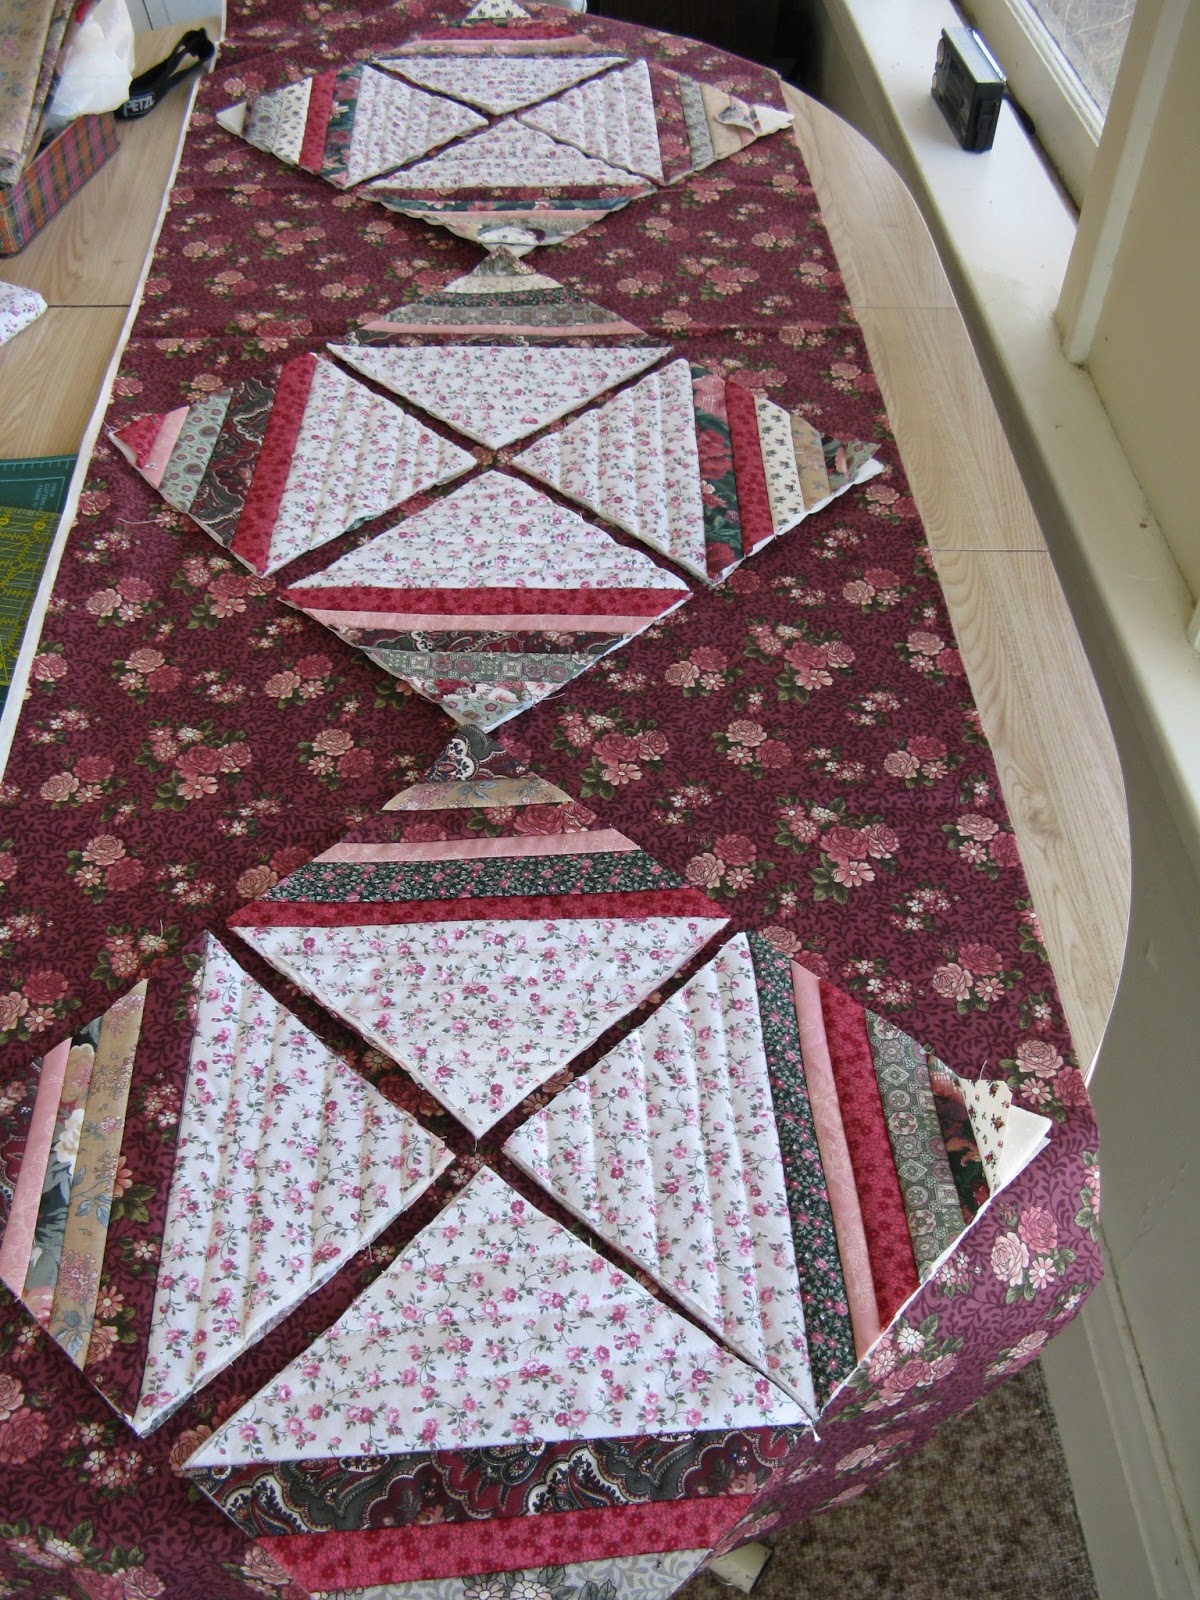
Layout #2, my favorite
|
I am just planning on making a tablerunner with this, as it is too labor intensive for me!
I still have to decide on sashing strips, before I can finish this.
Hubby and I did some exploring
 |
recent wolf track
|
 |
| Wolf kill |
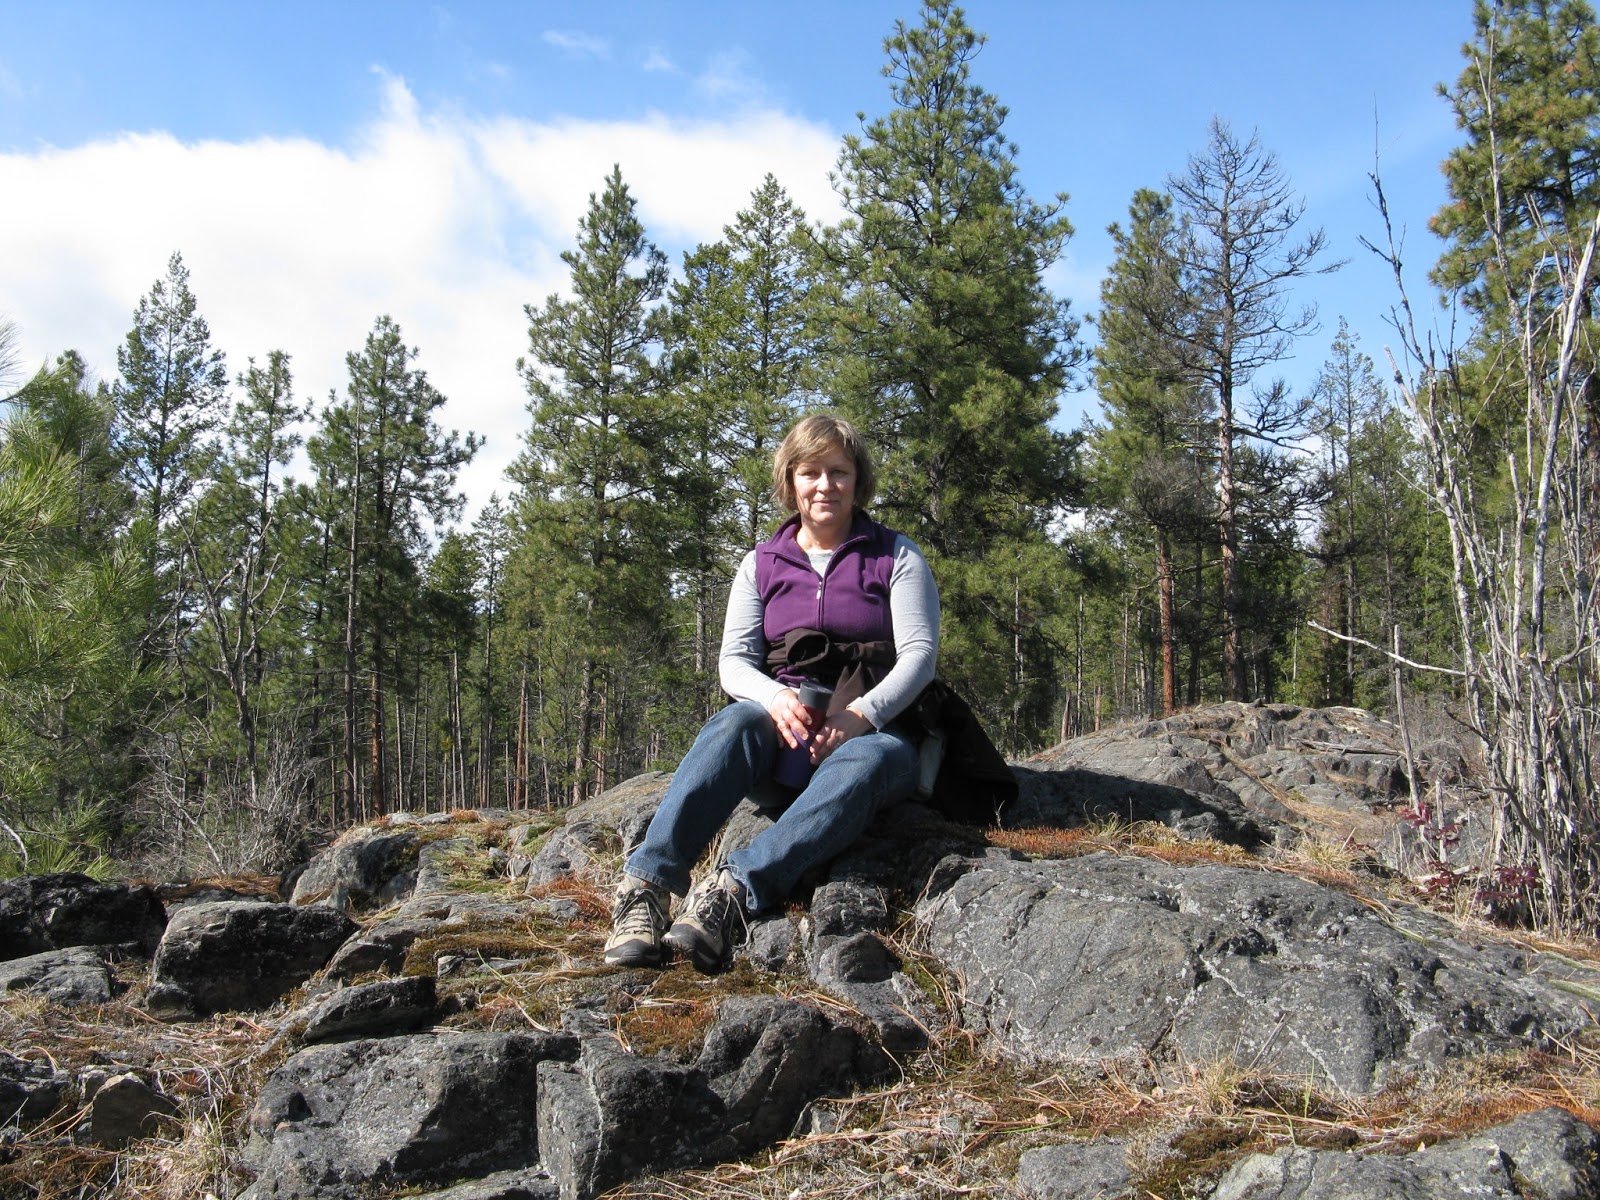 |
| Beautiful Spring day! |
I apologize for photos not being in the ideal spots! Some day I will take the time to learn to do this properly!


