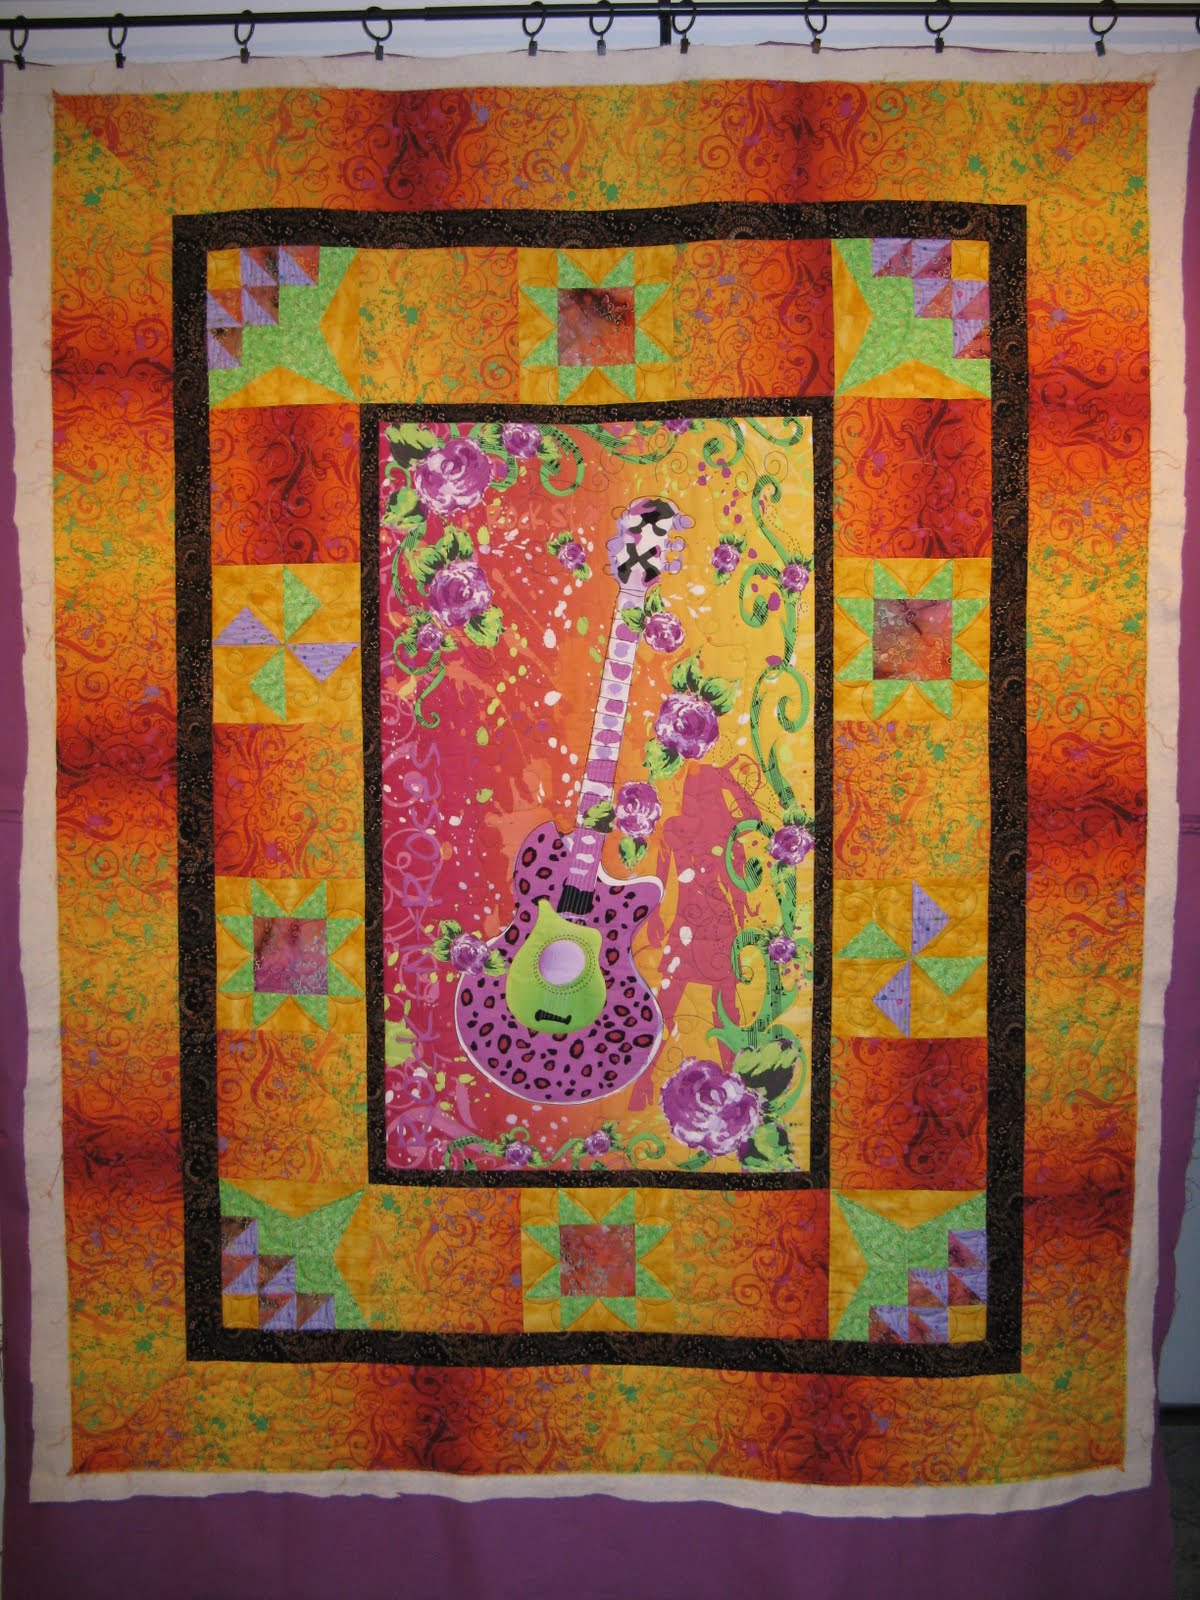
Velda brought me this quilt she made for her niece. I just fell in love with the fabric!
The inside panel is from a Lyndhurst Studio, (Northcott) line, called Rock-N-Roses. The fabrics Velda chose to accompany the panel were amazing, and suited the quilt perfectly!
I started by stitching in the ditch between all the blocks.
In the panel portion, I loosely free-handed around the shapes and
added some swirlies and loops with variegated thread.
In the surrounding blocks we chose to do some basic quilting, according the the block style.
In the border, I stitched some musical notes and loops, although it doesn't show up in any of the photos.
It was a fun quilt to work on, and has sent me on a mission to find some more fabric!
Since the word "Garden" shows up in the title of my blog, I feel that I can stray alittle from the Quilting theme.
While staying at the family cottage during the summer, my husband and I often go for walks along the forestry backroads. I'm always looking into the ditches and finding disgarded items from people who couldn't be bothered to take them to the dump, and I've come home with a few treasures that aren't just pop and beer cans!
This one trip I found an old oak barrel, and nearby, a broken pressure-treated post, possibly fallen off someones vehicle, or thrown out, but hey, finder's keepers is my motto!
I went back with the Jeep and and hauled out my treasures and took it back to the cottage where I did the water test, and filled the barrel up to see how much it leaked. It did pretty well! Just with leaking alone, the water could last a week.
So, the next week or so I gathered up some supplies and proceeded to turn it into a drip system for our tiny garden at the cottage.
Since we don't have power at the cottage, I got a chance to use some old hand tools!
First I drilled a hole with a hole saw bit just big enough to put the tap threads through.
Then I used a bigger hole saw bit to make a bigger circle on the inside of the barrel, because the threads on the tap weren't long enough, or the barrel was too thick, so I had to make room for my coupler thingy to screw onto the tap.
I actually drilled for two taps, one at the bottom to feed the drip system, the other near the top just in case I re-route the downspout into the barrel, "rain-barrel" style, and then this second tap would be the overflow.
Also, I must mention that I gooped a bunch of silicone sealer on the inside as well.
Next, I put together the poly fittings. Don't forget to put the clamp on the pipe before you attach it to the fitting! Ask me how I know!
Oh, and I forgot to mention the pressure-treated post, I sawed it by hand to the required length, and set them under the barrel so there's some air circulation under it.
This photos shows the barrel is wet, not because it is leaking, but because I showered it with the hose.
Here's the lower tap.
Here's a little dripper doing it's thing.
And here's the little garden, there's a cherry tomato plant, a few peppers, some basil and chives, and some volunteer plant in the foreground. I had hoped it was a cucumber, but Father-in-Law suggested it might be a cantaloupe. It will be fun to see what it turns out to be!
I want to let everyone know that I DID IT ALL BY MYSELF!
But to be honest, I had a hard time putting in those little drippers, so my husband did assist with those. But that's all he did!


 In the border, I stitched some musical notes and loops, although it doesn't show up in any of the photos.


